Last week I made four "best ever" chocolate chip cookie recipes. The fancy brown-butter one. The one with three days of chilling. The viral TikTok one with the cornstarch trick.
None of them won.
The one that didn't is from Tanya Burr's baking book published years ago, her milk and white chocolate cookies she baked on YouTube in the days when people had millions of subscribers. People still search for it. I finally understand why.
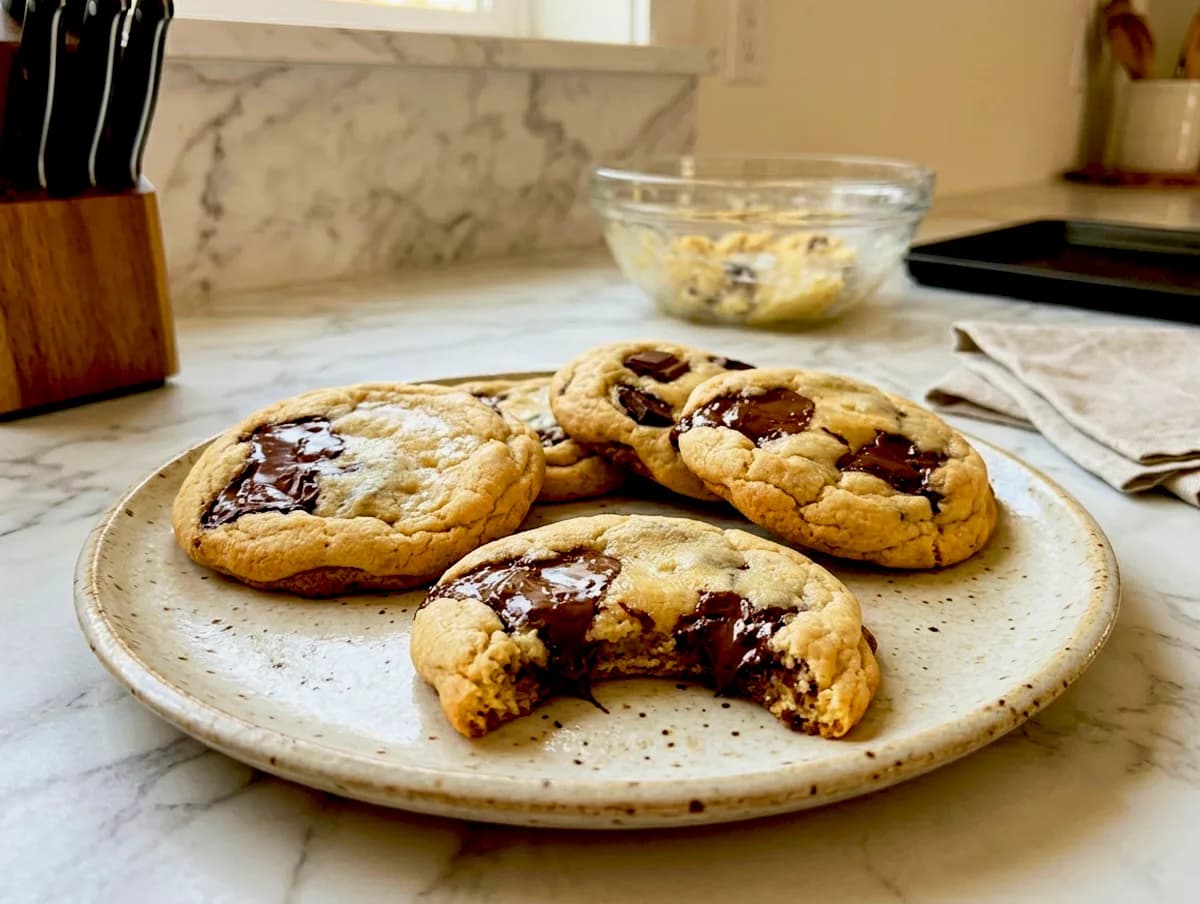
These are not the tall, gooey, half-raw cookies readily available on your feeds at this moment. They are thick, flat, pale slabs with glamorous edges and newbie centers scattered through melted pools of milk chocolate chips as well, including white chocolate goodness. They look almost plain. Then you bite one.
I have been trying cookie recipes for this site for years. Big bakery-style cookies, thin & snappy ones, overnight doughs, and brown butter everything. This is the answer to my question of what I would bake again without really thinking. Not because it's trendy. Because it still works when it's a Tuesday night and you want something from the oven in less than half an hour, but don't have time to watch over the tray.
We're sorry, you've typed "Tanya Burr cookie recipe" into Google at midnight with butter already on the counter. That phrase has stuck around for years since the cookies are striking: no flashy layers on top of one another like a photo would imply, just pretty great when you know what they're supposed to resemble right after they come from the oven.
The part that breaks every rule
Plain flour and a spoonful of baking powder or bicarb at most are the basis for almost every single chocolate chip cookie. This recipe helps one beg to differ, throwing that rule right out the door and using self-raising flour instead.
The first time I read it, I assumed that was a mistake. It isn't. Because the flour is pre-leavened, it also lifts just enough to stay soft without migrating into cake territory. The middle stays tender. The edges are set crisp. That single exchange is doing all the heavy lifting.
Self-raising is what Tanya Burr printed in her first book, Tanya Bakes, and it's what most UK cupboards already contain; plain flour works if you mix 2 tsp baking powder with 325g of plain flour (and a pinch of salt), but this means a little extra work. You are not pursuing lift from a great deal of yeast. You want a little puff but moisture held in the center, and then that rim sets against the hot tray.
The second there is for naught but the price of your time. You don't use chocolate chips. You snap two bars in your hands into haphazard piles of irregular pieces up to October 2023. You are an argon pendulum, with big slabs or tiny shards, all different. It melts into a real puddle while it bakes, rather than keeping its shape like chips do. Some bites are mostly dough. Some are almost all chocolate.
Chips that are chopped up ahead of time become a thin, uniform smear when melted. Hand-broken bar chocolate yields thick disks and thin shatters in the same cookie. Add in the chunks with your hands at the end, not beating them into a batter with a mixer. A paddle shatters the chocolate into dust, and those pools everyone remembers on that first bite disappear.
They're supposed to look underbaked
This is where most people mess them up.
At 11 or 12 minutes when you take them out, the centers look pale and soft as if they were undercooked. Every instinct shouts to put them back. Don't. They continue to cook on the hot tray as they cool, and an additional 2 minutes in the oven basically equals a soft center today or a dry one tomorrow.
Then you wait. 20 minutes waiting on the tray before you pick up a single one. The centers just out of the oven are still molten, and if you try to move them too early, they will either collapse or stick like glue to the paper. Well, the whole recipe is how cured they appear versus actually being done.
The edges should look golden. The tops should still be pale. If the entire cookie has turned a uniform tan color, you've overcooked it. When the oven runs hot, I pull it at 11 minutes; when the oven runs cool, 12. One test cookie at 10 minutes gives you more information than watching the clock. Crack it at the edge: hard crust, gooey center. That's the target.
Avoid sliding them onto a rack the instant that timer goes off. The bottoms firm first on the hot metal. It takes those 20 minutes for the structure to hold without collapse. Pick one up too soon and it collapses on its own or exiles its stem to the parchment.
The two things that go wrong
Cold butter wrecks the batch. If it is still firm in the middle, it will not trap air when you cream it, and the dough splits when the flour goes in. Soft butter only. Not melted.
Melted butter makes flat, greasy cookies that spread into oily puddles and never get that soft centre back. If you forgot to take the butter out, cube it and leave it for 30 minutes, or microwave on the lowest setting in 10 to 15 second bursts until it is pliable but still cool to touch.
Crowding the tray is the other mistake. These spread to about 10cm across, so they need real space. Pack them in and you get one giant cookie blob instead of a dozen. Leave at least 8cm between each ball on a lined tray. Bake one sheet at a time on the middle shelf if your oven browns bottoms quickly. Dark metal trays conduct more heat and can scorch the bases in under 10 minutes.
Get those two things right and the rest is hard to mess up. If the dough looks crumbly after you add the flour, press it together with wet hands and add a tablespoon of milk. If it is sticky, dust in another tablespoon of flour. The dough should hold in one mass without sticking heavily to your fingers.
Worth making this weekend
Since then, I have returned to this recipe on three occasions. Fifteen minutes of stirring and folding, twelve baking away: the only real skill it demands is faith in a tray of pale cookies before leaving them to do their thing.
Bake them as a batch and then pull them at 11 minutes; go do something else for 20 so there is no way you can touch them. They become the cookies that humans have Googled for years.
They are at their best on the day you make them, but in an airtight tin, they will keep soft for 2 to 3 days. Pop a day-old cookie in the microwave for 10 seconds, and it reassesses its entire career with a gooey center. Portion dough into balls, freeze on a tray until solid, then bag and keep for up to 3 months (bake from frozen at 200°C for 13 to 14 minutes without defrosting).
None hit the sweet spot of quickness and ease while giving you a center that remains soft when baked through at the edges. But when you have the time, brown butter rules. Three-day dough is a project. This is the one I'd give to a friend who says they can't bake cookies.
Get the full recipe
Get the full recipe, precise measurements, and step-by-step photos here: Tanya Burr Cookie Recipe on British Kitchen Hub.
The method walks through everything above with grams and cups, UK oven settings at 200°C (180°C fan), and photos for soft butter, hand-broken chocolate, pulling the tray while the centres still look pale, and the full cool-down on the sheet. The batch makes 10 to 12 large cookies depending on how generously you scoop. If you have been searching for the milk and white chocolate version from Tanya Bakes, that is the page to bookmark.